Whether you are writing a school essay or an article for a website or your local newspaper, pictures are a great way to grab the attention of the readers. Images enhance the visual impact of a blog and make it more likely a post will be read. Aside from paragraph breaks, strategically placed pictures can go a long way into turning a huge wall of text into an appealing article.
To turn a good picture into a great picture requires a good image editor to work on. Fortunately, with Microsoft Office 2010 you no longer have to jump back and forth between your document and your image editor, since so many image editing tools are built right in. There are many things you can do with pictures in Office 2010: color correct them, apply artistic effects like pencil sketching, put borders on, rotate, add shadows, etc.
This tutorial will show you some of the tricks you can perform with Office 2010 to make you pictures pop-out. One cool trick that looks amazing is when the picture is mostly black and white with just a highlight of one bright color. This is known as selective coloring.
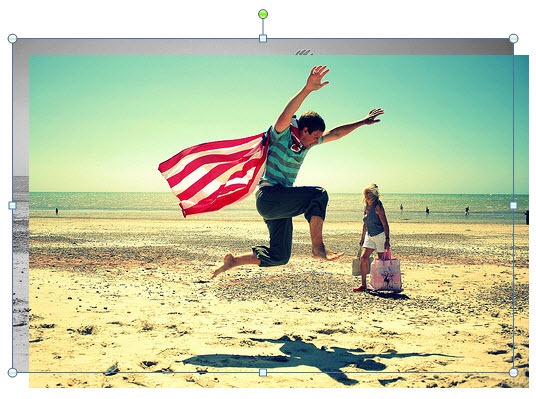
I will start with a photo I found on Flickr a while ago.

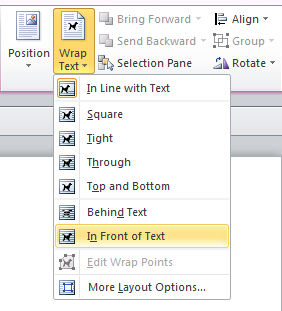
Once you insert the image in a Word document, the Picture Tools will open in the ribbon. In Picture Tools, select the Wrap Text command and click the In Front of the Text option.

The ‘In Front of Text’ option allows you to stack multiple images on top of one another like layers in an image editor. Since Word 2010 doesn’t have full layer support, we will use this option to our advantage.
While the image is selected, press CTRL+C and then CTRL+V to make a copy of the image. The second image will drop on top of the first.
Select the bottom image and under Picture Tools, select the Color control and find the black and white example (Saturation: 0%) in the Color Saturation section. The bottom image will turn greyscale or black and white.

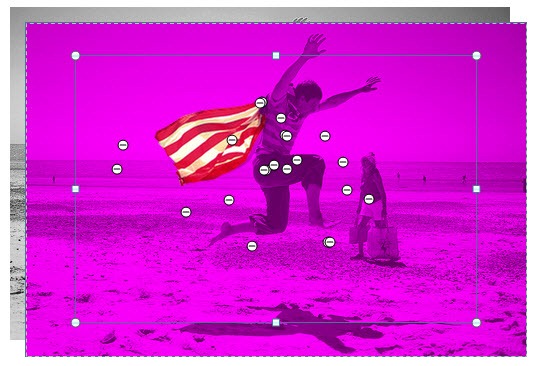
Select the top image and choose the Remove Background option. Choose Mark Areas to Keep and then click on the image adding points so as to enclose the area which you want to show off. Alternatively, use the Mark Areas to Remove tool to mark areas you want to remove. Click on Keep Changes to save the changes you made.

Finally, slide the top image over the bottom using the arrow keys of your keyboard so that both images are lined up.

Looks great, doesn’t it? There are other ways to spice up images by applying a combination of effects. For example, in the image below, I removed everything except the leaping guy from the top image and changed the saturation of the bottom image to 33% to achieve a different look.

In another example, I softened the bottom image to –85%. To do this click on the Correction command and choose Picture Correction Options to open the picture Format configuration window where you will have access to all image editing tools.

In yet another example, I cast a shadow of the leaping guy over the bottom image. This can be done from the same Picture Correction Options interface.

Use your imagination to create your own effects. If you find Office 2010’s image editing tools is restricting your creativity, you can always move to proper image editors like Adobe Photoshop, or if you are looking for free ones, there are Zoner Photo Studio Free, RealWorld Paint.COM, Gimp, GimpShop and GimpPhoto and more.

How do you this "I removed everything except the leaping guy from the top image"?
ReplyDelete